Xand Extreme VW Golf IV
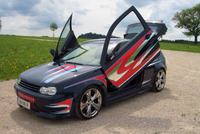
The car
The goal is to integrate a complete PC in a VW Golf 4 in such a way, that it is power saving, stable, fast and
aesthetically integrated into the car.
The first tests of the CAR PC were done with a 12V-230V converter. However, this unit has been removed as there
are more stable solutions available.
The installation
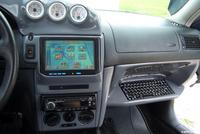
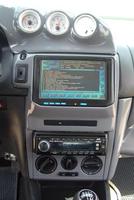
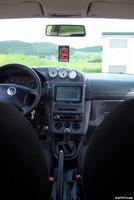
For the used components : A 700TS TFT 7“ VGA with Touch Screen USB is finding its place
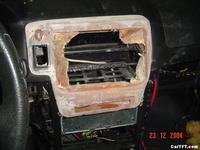
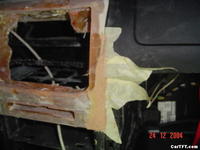
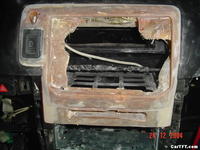
in the center console. However I had to remove the ventilation system for this purpose.
It was closed carfeully with coverings. Then the switch for the warning lights has been moved to a position
besides the wheel. The control cables for the car amps, the PC and the loading electronic of the second battery
were installed and the switches were added besides the warning light switch.
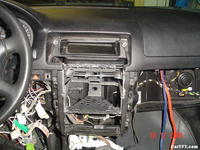
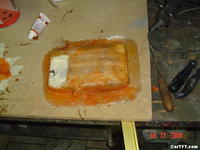
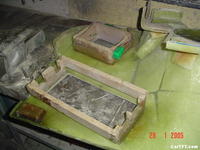
Here I have formed the frame for the SlimLine DVD drive directly
out of GFK. This device is to be installed via a Slim-to-IDE adapter and a
IDE-to-USB converter to the PC.
The same action happened with the 700TS TFT 7“ VGA with Touch Screen USB display and the front USB port.
Because we used the display/usb cable for the negative form, you can get a very high fitting accuracy in a way
that the display can click in alone.
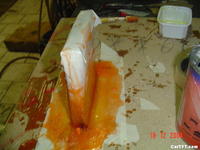
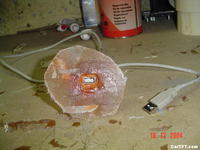
From the dashboard we deflect a positive form with PU-foam, which will be serving as a negative form with GFK.
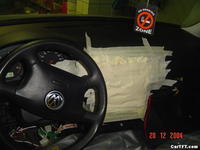
In a next step all single frames are to be connected with each other and filled with GFK. More corrections
can happen with a GFK kit.
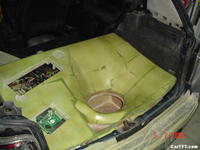
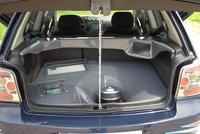
In the boot the Car PC is finding its place. It has a 1,7 GHz Celeron processor and a VIA mainboard with 512 MB RAM and
Onboard Audio/LAN/VGA (saving power consumption), an additional battery, fan for additional cooling
(very important), a harddrive installation frame consisting of 2 x 2,5“ 40GB HDD and a corresponding shock moderation.
The harddrive frame is to be placed in the GFK landscape.
Next, the mainboard is connected to the car battery with help of a PW120M 12V DC/DC (200W).
For software, I choosed Windows XP. Reason is, that XP is supporting most other software without problems and
that the handling is easy. The great benefit Windows XP gives you, is that there are useful tools which can
limit the size of the installation to approx. 100MB. (in my case, I removed all unnecessary drivers/services, which
I do not need, and I integrated all needed drivers). This means that my Windows is available 15 seconds after BIOS
has initialized, and shutdown is finished after 5 seconds. And only with this times, the use of a carpc makes sense to me.
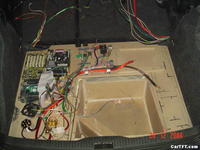
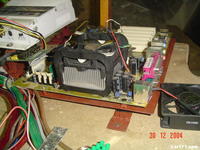
The mainboard is mounted on a pen plate to avoid damages while in move.
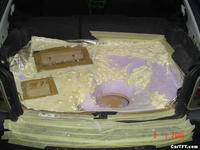
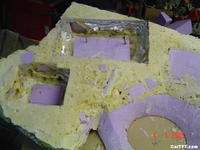
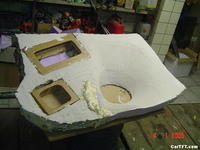
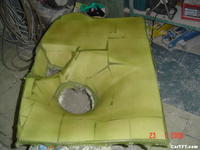
For giving the boot a nice looking, I have created in hard work a positive form of styrofoam and PU-foam, which
is serving as form for the GFK negative. The surface of this form has to be created with near perfection so there
are no grinding works neccesarry later on.
The negative unfortunately is not visible on the picture. Out of this negative we create the final form.
Next we integrate the mounting units for the car amp and the hard drive frame.
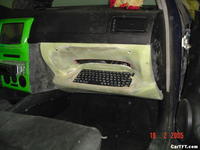
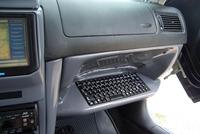
Unfortunately I need a keyboard for the PC. Because of this I decided to take a half sized keyboard and install
it at the place where the glover box is located. The whole thing done in GFK.
For this purpose, the keyboard served as helping form for the final form. Important is, that the mounting
units are working just like with the original glover box.
So I integrated leading pipes into the form, which will help to get the 6 screws in its place.
And here it is absolutely neccesarry to preserve lighting units. For this the square above the keyboard
was removed and closed with a plate.
Behind the keyboard the USB hub is located, which itself connectes to the displays touchscreen, the keyboard,
the DVD drive and the front USB port. And of course it is connected to the PC.
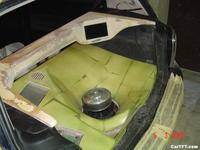
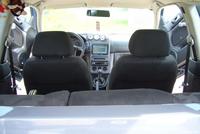
Because there are not any bored feelings, when looking at the boot, I integrated a second level.
This includes my second display and a lighting unit, which is lighting towards the car amp. The second level
can be removed at any time by removing the additional AGP graphics card. (is only serving for exhibitions
and car meetings.) In everyday life, the second graphic card is not optimal.
The core parts are painted with „mouse-greay“ color, so it integrates into the exciting look of the car.
Next there is a plexiglass plate mounted above the car amp and the harddrive frame.
Showing the new designed dashboard.

You can see that a major benefit of a PC in the car can be the navigation system. This is working with help of a
GPS USB mouse, which is connected to the PC. With help of the touchscreen it is very easy to enter the navigation
target and finally reach it.
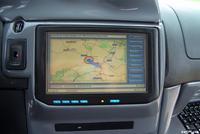
We look at some featured of the Car PC (watch DVD, hear MP3, receive FM radio, watch Divx Mpeg, navigation system,
play games, use tools,...)
The installation
Nick name : Xand Extreme (fuer (at) aon (dot) at)

Slideshow (all pictures)


 CarTFT.com